01
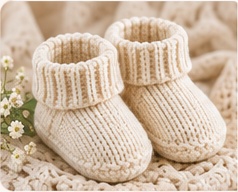
Classic Knit Booties
A simple, soft pair with a clean shape and an easy everyday finish.
See the pattern →Cute, cozy, and satisfying to make — these baby bootie ideas cover simple beginner shapes, playful details, classic knitting, and sweet crochet styles.
See all 9 ideas →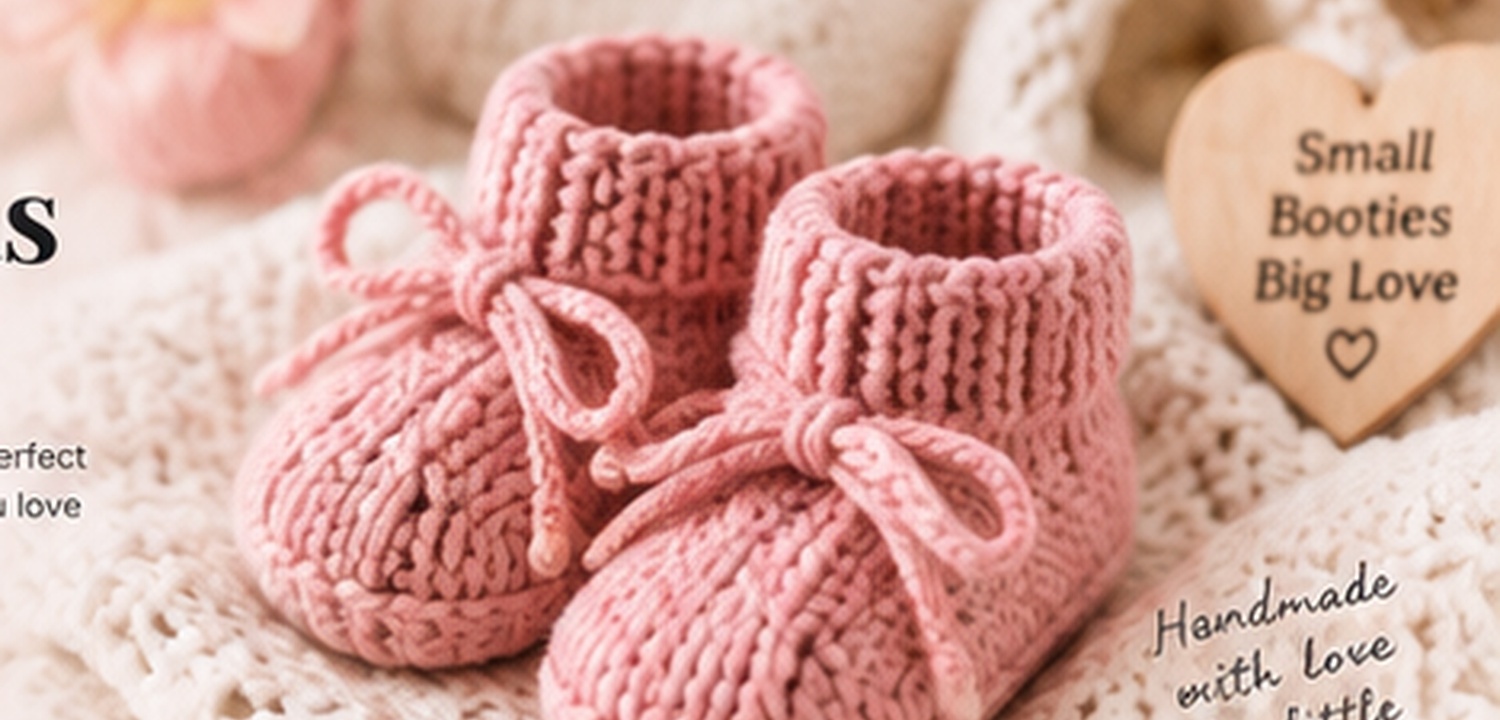
Different styles suit different makers. Start with the shape, technique, and finishing details that feel comfortable for you.
A simple, soft pair with a clean shape and an easy everyday finish.
See the pattern →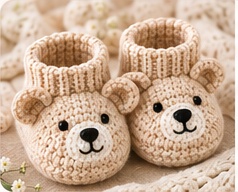
A playful animal-inspired design with tiny details that make a handmade gift memorable.
See the pattern →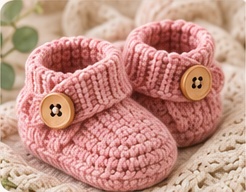
A neat ankle style with a button accent and a little more structure around the opening.
See the pattern →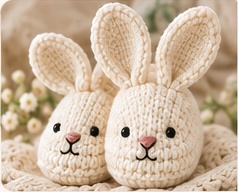
A sweet choice for newborn photos, baby showers, and soft neutral wardrobes.
See the pattern →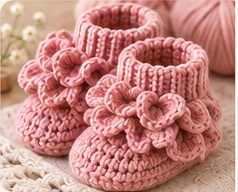
A delicate option for makers who enjoy texture, edging, and decorative finishing.
See the pattern →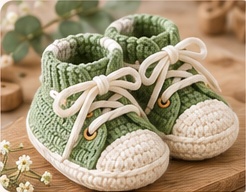
A fun modern shape for parents who prefer a casual look instead of a traditional slipper.
See the pattern →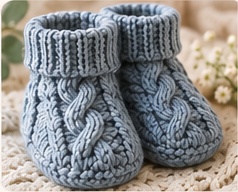
A textured knitted style that looks beautiful in cream, oatmeal, dusty pink, or sage.
See the pattern →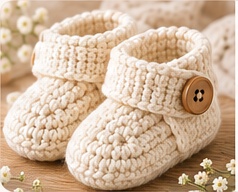
A practical Mary-Jane-inspired shape with a strap that helps the shoe stay in place.
See the pattern →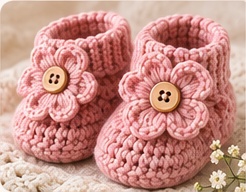
A charming floral design for spring babies, photo props, or a special handmade present.
See the pattern →Save time comparing designs and choose a complete collection of baby bootie patterns with different shapes, textures, and finishing ideas.
A few practical decisions make the finished booties more comfortable, easier to size, and less frustrating to make.
Use soft baby-friendly yarn with a smooth surface. Cotton is easy to wash and holds its shape; acrylic can be forgiving and affordable. Avoid scratchy fibres and loose fluff.
Compare finished sole length with the baby's foot. Age labels are only a guide, and different patterns use different amounts of ease.
Pick a simple shape, read the whole pattern first, and make one bootie before repeating it. The second one will usually go much faster.
Baby booties are small projects with a clear result. They are useful for practicing tension, shaping, edging, straps, buttons, and finishing without spending weeks on a large garment.
They also make thoughtful gifts because you can choose colours and details that suit the baby or the season. A simple cream pair can look timeless, while pink, sage, lavender, or a playful animal design gives the gift more personality.
Baby booties are often much more approachable than they look. The finished item is small, so you can practice a limited number of stitches without committing to a large project. Classic ankle shapes, simple soles, and designs made with single crochet or basic knit rows are usually the easiest place to begin. They also let you see your progress quickly, which is helpful when you are still learning tension and counting.
If you are completely new, choose a pattern with clear photographs, a simple construction, and very little shaping. Avoid starting with a heavily textured cable, complicated colourwork, or a design covered in tiny decorations. Make one sample first, check the size, and only then make the second bootie. The second one is normally faster because the construction is already familiar.
Choose the technique you already understand best. Crochet is often easier for a first pair because the fabric builds quickly, the sole can be worked in a compact oval, and mistakes are usually easier to see and correct. Crochet also makes firm little shoes with a clear shape, which is useful for Mary-Jane styles, straps, flowers, and decorative edges.
Knitting can produce a softer, stretchier fabric with a lovely sock-like appearance. It is especially attractive for ribbed cuffs, classic booties, and designs made in one piece. The trade-off is that shaping may involve more attention to decreases, picking up stitches, or seaming. Neither method is automatically better; the simplest project is the one that matches your current skills and the kind of fabric you want.
Start with the finished measurements in the pattern rather than relying only on an age label. Babies grow at different rates, and a pattern marked “0–3 months” may fit differently from another pattern with the same label. Measure the baby's foot when possible, compare the sole length and width, and allow enough room for the toes without making the bootie so loose that it slips off.
For a gift, a slightly larger size can be practical, but do not make it excessively oversized. Check whether the pattern gives finished sole length, foot circumference, and cuff height. If the design uses a strap, button, or tie, make sure the opening is easy to put on and remove. Always secure small decorative parts firmly and never leave loose cords or detachable pieces within a baby's reach.
Choose a baby bootie pattern and make something special with your own hands.